> ## Documentation Index
> Fetch the complete documentation index at: https://makeswift-docs-branch.mintlify.site/llms.txt
> Use this file to discover all available pages before exploring further.
# Shadows
> Boxes can have shadows to give them a more real-world, dimensional feel. Add shadows by clicking the “+” in the “Shadows” panel located in the sidebar.
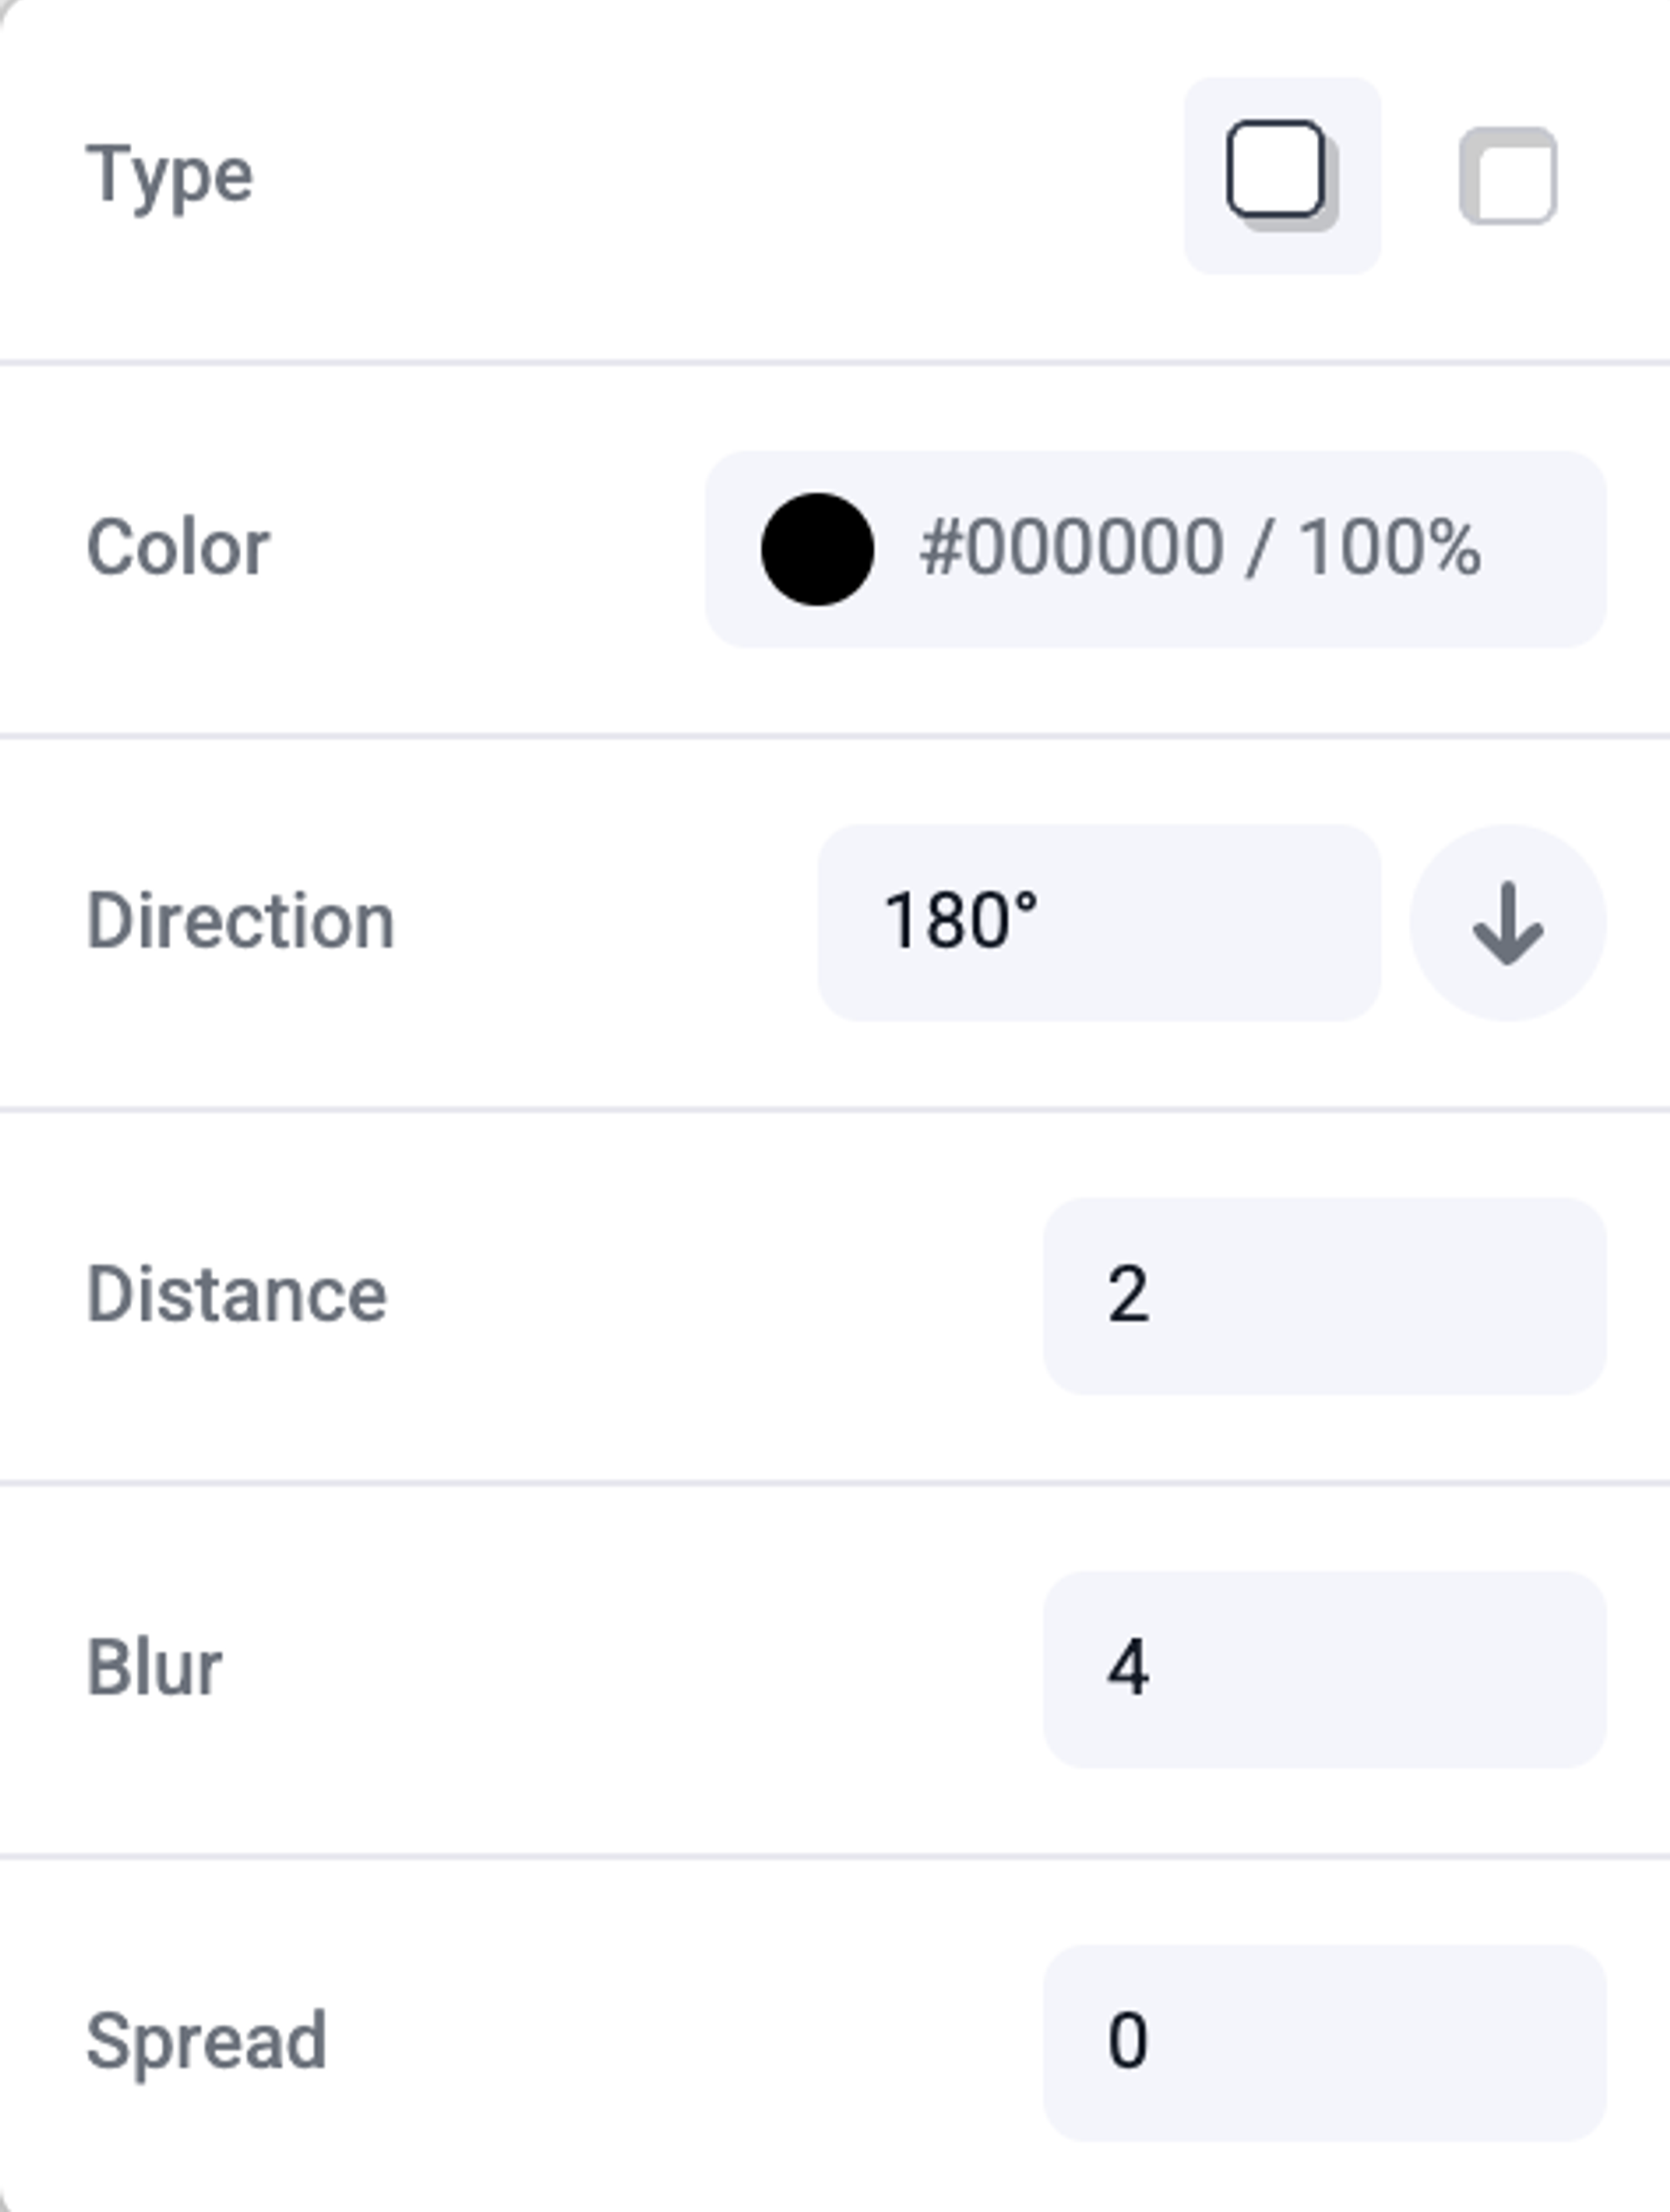
Here are the following options for shadows:
* Type: drop or inner shadow
* Color
* Direction
* Distance: how far the shadow is from its element
* Blur: the softness of the shadow
* Spread: when blur is set to “0”, a larger size will act like a solid border
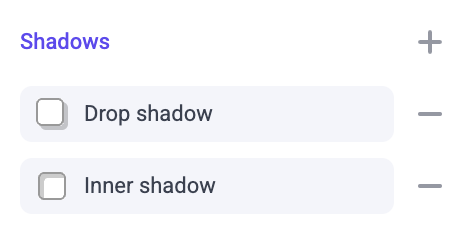
 An element can have multiple shadows which can be layered and sorted,
allowing you to add more realistic shadows or create unique effects.
An element can have multiple shadows which can be layered and sorted,
allowing you to add more realistic shadows or create unique effects.
 ## Examples
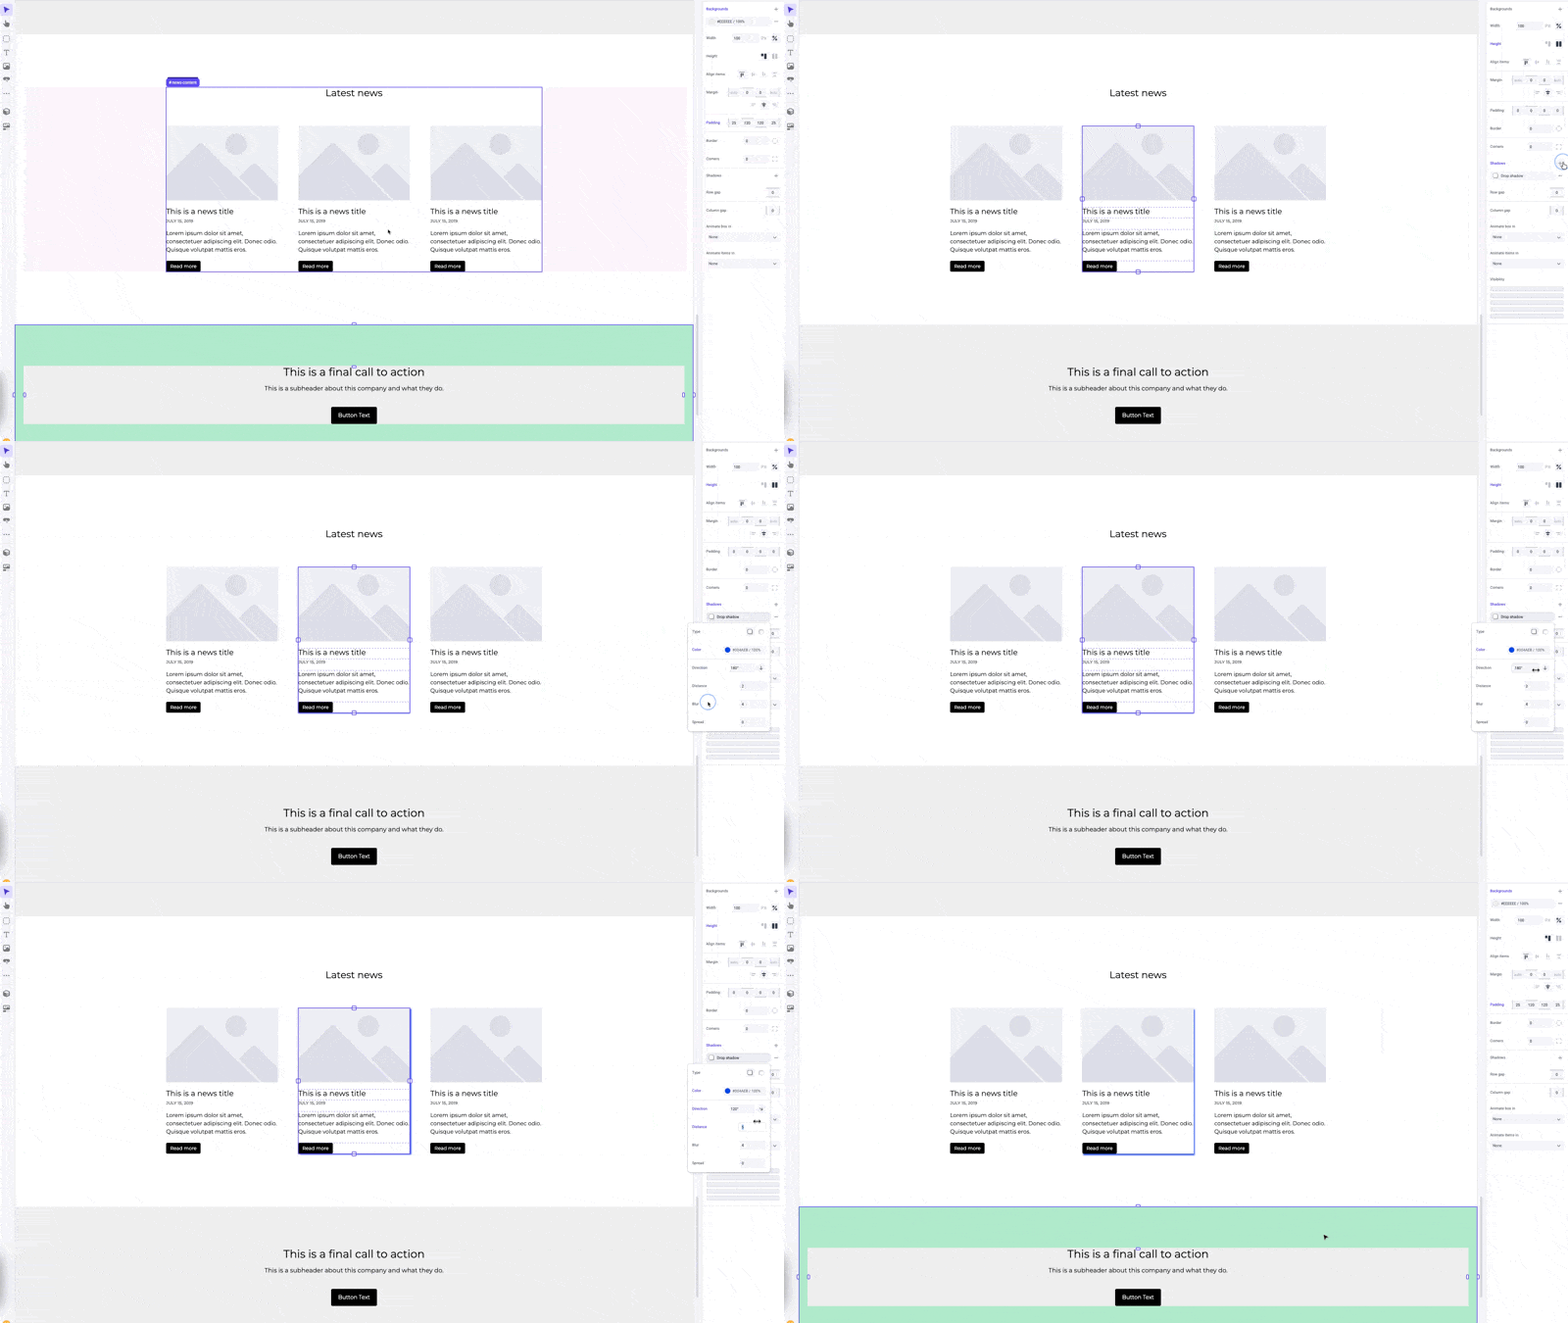
You can change the color and angle of your shadow to add a glowing effect to a specific element.
## Examples
You can change the color and angle of your shadow to add a glowing effect to a specific element.
 ## Pro tips
Avoid importing assets with shadows included in the original file, as this can be added in Makeswift.
Another tip is to lower the color opacity and use a higher blur to create softer, more realistic shadows.
## Pro tips
Avoid importing assets with shadows included in the original file, as this can be added in Makeswift.
Another tip is to lower the color opacity and use a higher blur to create softer, more realistic shadows.